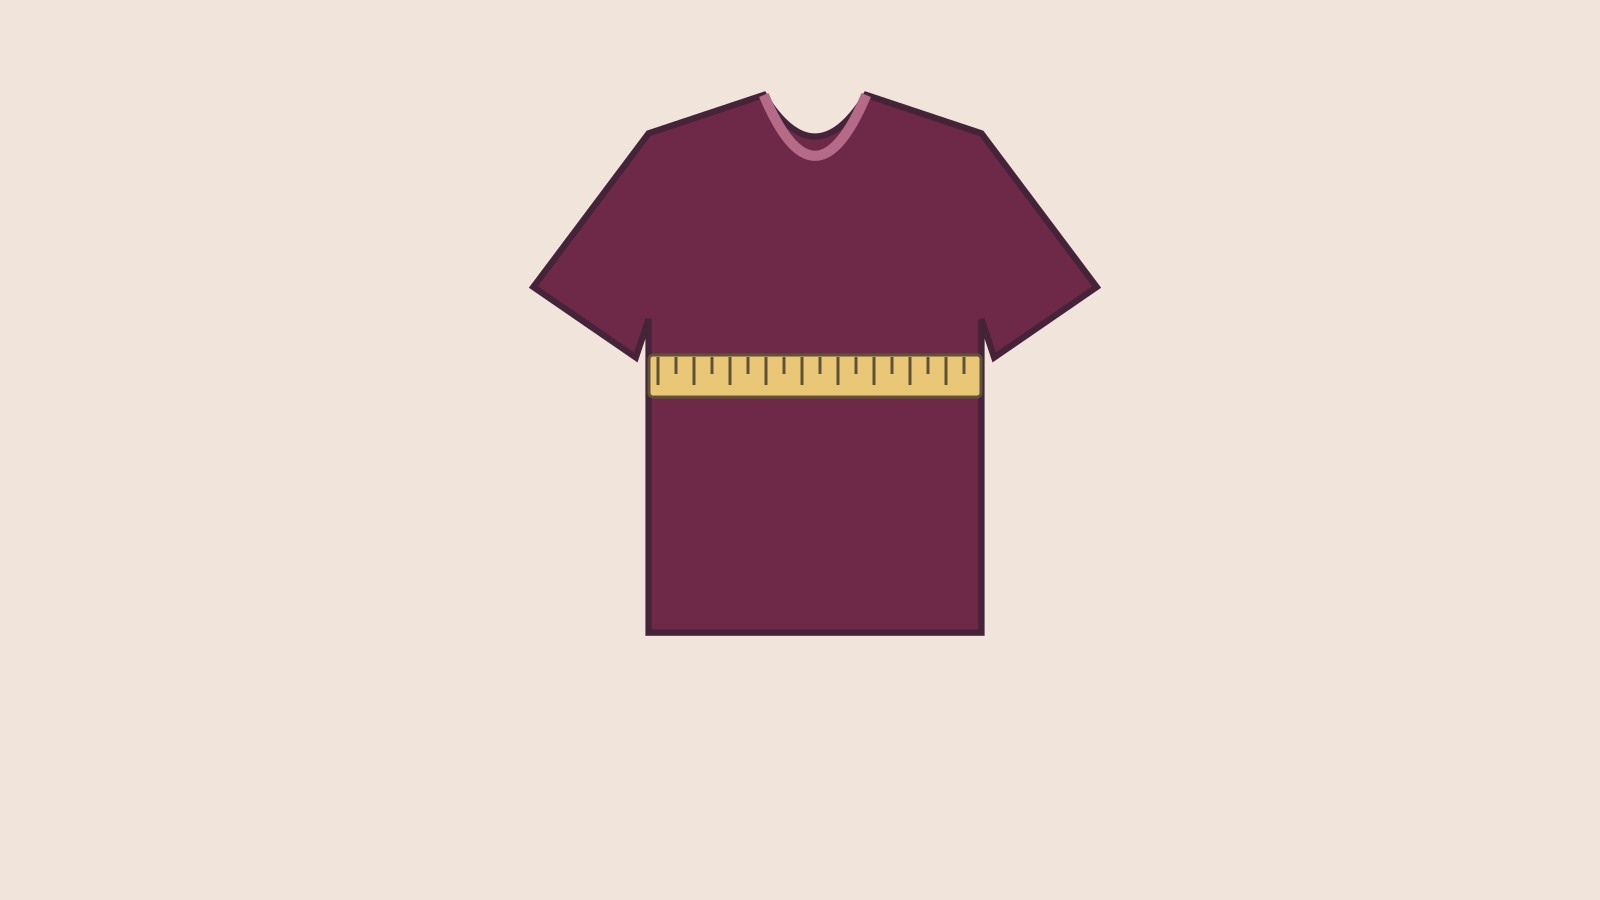
A shirt measured flat across the chest is not being measured in the same way as a person measured around the chest. Both figures can appear under the word “chest” in a clothing chart. Before choosing a size, establish which one you are reading.
“Half chest”, “chest width” and “pit to pit” usually describe a garment dimension across the front. “To fit chest” describes the intended wearer’s body measurement. The chart’s own instructions take priority over a familiar label.
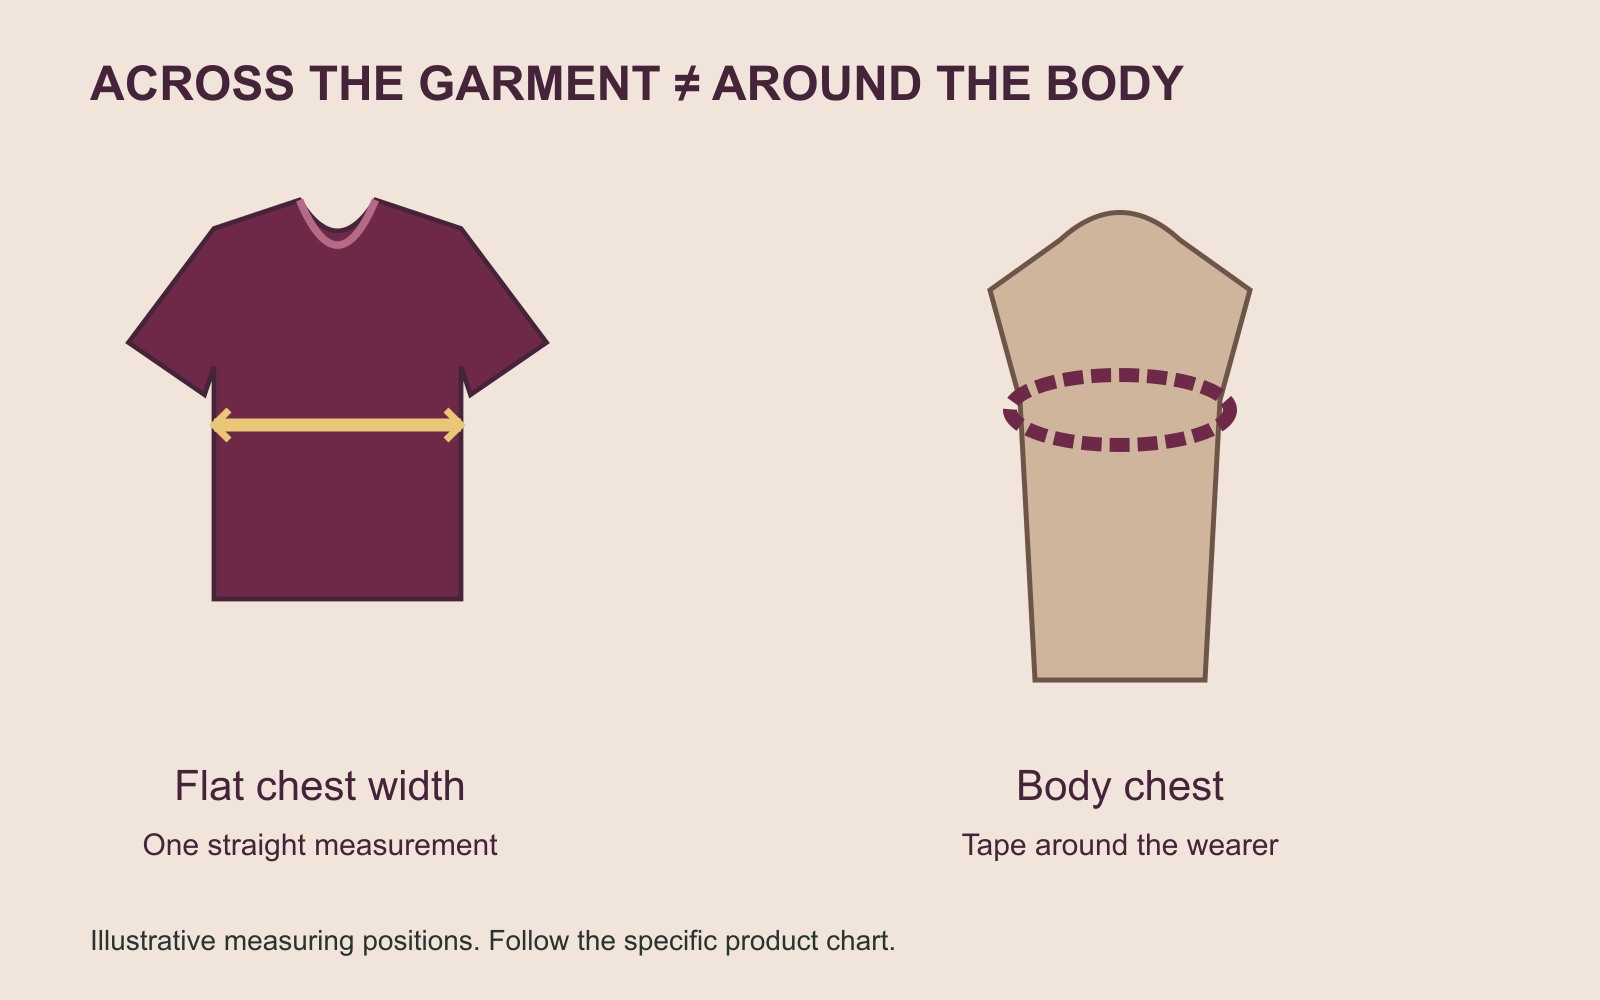
Across a shirt and around a person are different measurements
For a flat garment measurement, the shirt lies on a surface and the tape runs across it at a specified position. For a body measurement, the tape goes around the person. The first is a width; the second is a circumference.
You can see both approaches in SanMar’s measurement sheet for the Gildan 8400. Its product measurement is taken across the garment below the armhole, while its separate body-sizing instruction measures around the chest. That is an example of two charts doing different jobs, not a claim that every brand uses the same measuring position.
Likewise, Stanley/Stella’s Mini Changer 2.0 product sheet labels a garment dimension “Half Chest” and gives centimetres. Read the heading, units and measurement drawing together rather than interpreting a number on its own.
Why doubling the width does not choose your size
Imagine a fictional shirt measuring 52 cm across the chest when laid flat. Twice that width is 104 cm. This helps explain the meaning of “half”, but it does not establish that the shirt is recommended for someone with a 104 cm body chest.
The garment and wearer are different things. The space between them is part of the fit. A closer-fitting top and a roomier layer need not have the same relationship to the wearer’s measurement. A simple multiplication does not account for the whole shape, fabric or intended fit.
Do not halve your body measurement, find the nearest flat width and treat the result as a guaranteed size. Use the relevant body chart when the supplier provides one. Where the chart gives garment dimensions, compare like with like.
Make a useful garment-to-garment comparison
Choose a similar item you already find comfortable: a polo against a proposed polo, for example, rather than a fitted T-shirt against a winter layer. Lay it flat, smooth it without stretching and follow the proposed product’s measuring instructions.
Compare the chest width and length, keeping the units consistent. Note whether the length starts at the shoulder or another specified point. If the chart’s measuring position is unclear, ask before relying on the comparison.
A note such as “preferred polo: 52 cm across at the chart’s stated position; 70 cm long by the stated method” is more useful than “usually medium”. These are illustrative figures, not a size recommendation. If the proposed item differs substantially in style or construction, say so instead of forcing the comparison.
Keep the chart attached to the garment choice
When collecting team sizes, retain the exact product reference, fit, chart and units used. A list of size letters without its garment reference loses the basis for the decision.
The repeat-workwear guide covers how to record a changed garment without treating it as identical to an earlier order. For a new printed clothing enquiry, include the chosen style or the chart you need help interpreting. Resolve whether “chest” means across or around before finalising the size breakdown.
Sources: SanMar’s product and body-measurement instructions and Stanley/Stella’s labelled garment sheet. The worked figures explain the distinction; they do not establish stock availability or a guaranteed fit.