
A cut-out image looks clean on a white layout, but a pale rim appears when it is placed on a dark panel. The surrounding area may be transparent while the edge still carries colour from an earlier background.
That is a different problem from an opaque white rectangle behind the whole image. Identify the affected boundary before asking someone to remove more artwork.
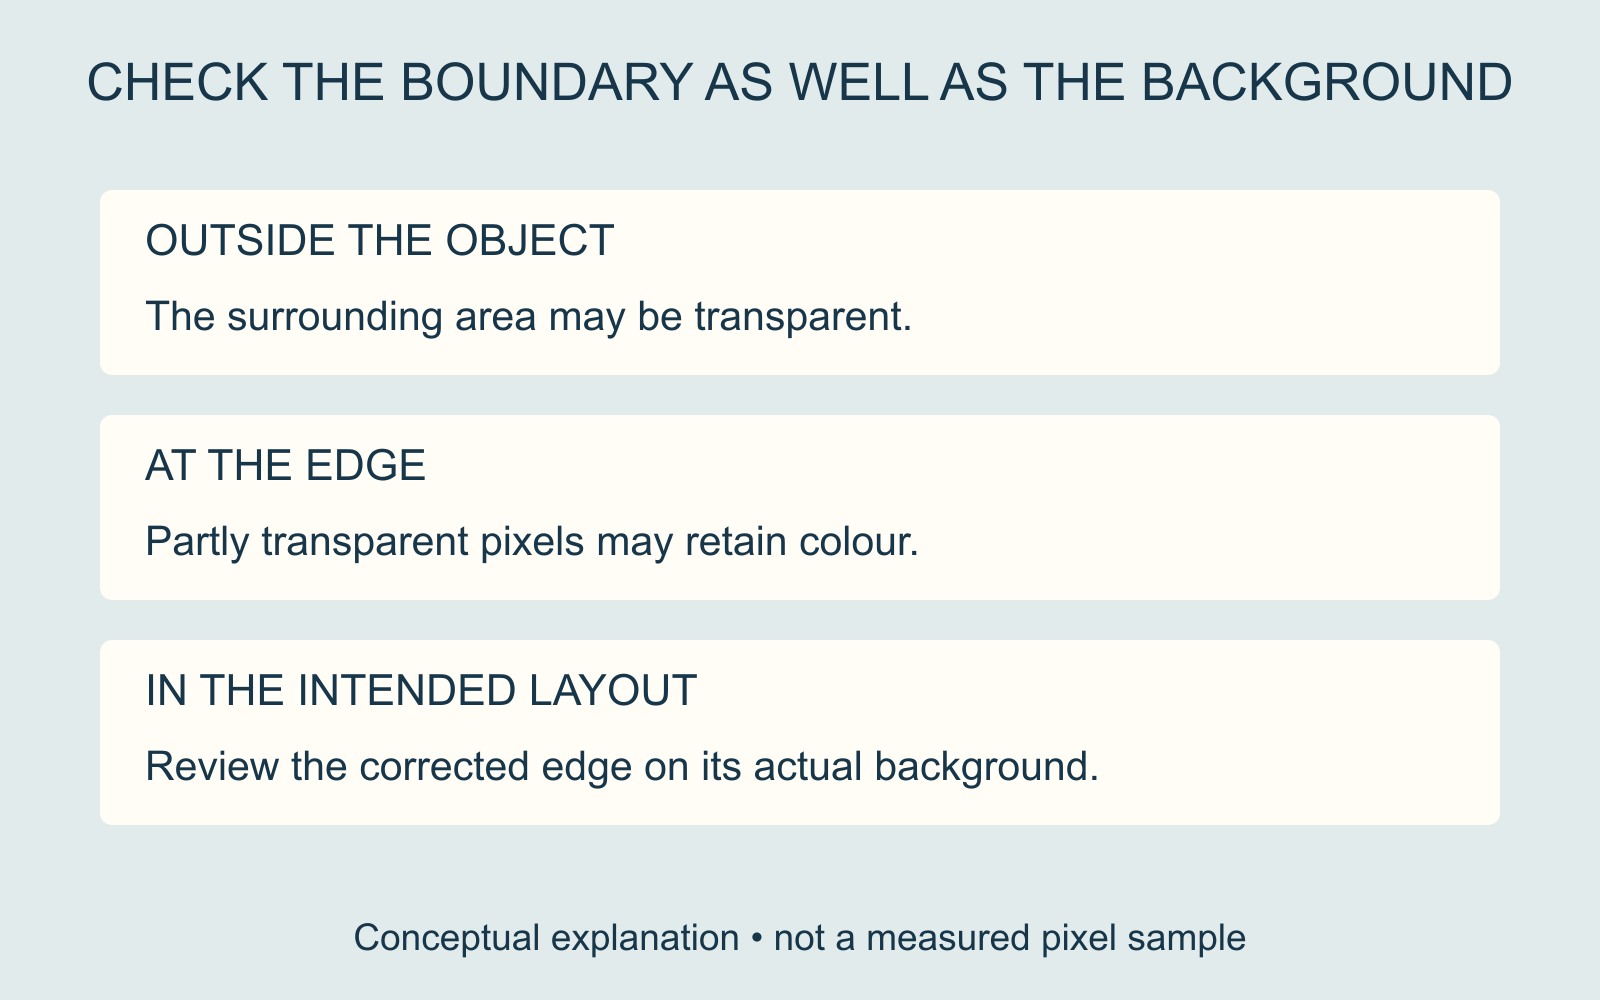
Inspect the edge, not just the empty area
Adobe's fringe-pixel guidance explains that anti-aliasing creates smooth selection edges using partially filled pixels. Those partly transparent edge pixels can retain colours from the original background, making a fringe more noticeable against a contrasting one.
So “the file has transparency” and “the edge is clean on this background” are separate observations. A large transparent area outside the object does not settle what happens along its boundary.
The illustration exaggerates a pale rim around an original geometric shape. It explains the relationship, rather than showing pixels measured in a supplied image.
Ask for a correction to the source edge
Give the artwork person the actual image and a reference showing the intended background. State whether the fringe surrounds the object, appears in small gaps, or affects only one part of the outline.
Adobe describes several treatments, including Defringe and commands for removing black or white matte edges. Their existence is not a reason to apply one blindly to every file. The editor needs to distinguish unwanted background colour from an intentional pale detail.
Keep the original and compare any revised version with the approved shape. Removing a rim should not silently remove a fine line or change the mark's outline.
Review the placement you actually intend to use
For a printing enquiry involving supplied artwork, include the intended item, placement and background colour with the best available source. Describe the edge problem rather than repeatedly saving the same image under a different filename.
Check the revised artwork in its intended layout and at the intended size. A cleaner boundary does not by itself establish sufficient detail, vector artwork or suitability for every production method. Those remain separate parts of the job assessment.
Source: Adobe's Photoshop fringe-pixel explanation, linked above. The edge comparison is original illustrative geometry, not a customer logo, edited photograph or software test.